Integration of the Solax Inverter with Trydan
Electrical installation
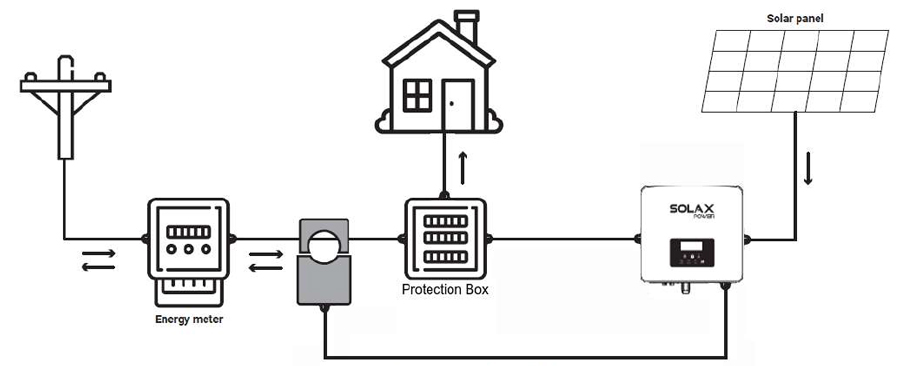
First, we must ensure that our Solax inverter has been correctly installed and configured. In order to measure household consumption, we will need to connect the clamp meter, with an RJ45 connector, which is included with the inverter.
The inverter must only have the Solax Pocket WIFI V2 with a version lower than v2.0.33.20. If the inverter has a higher version, it will not be possible to downgrade it to open the communication ports.
Power meter installation
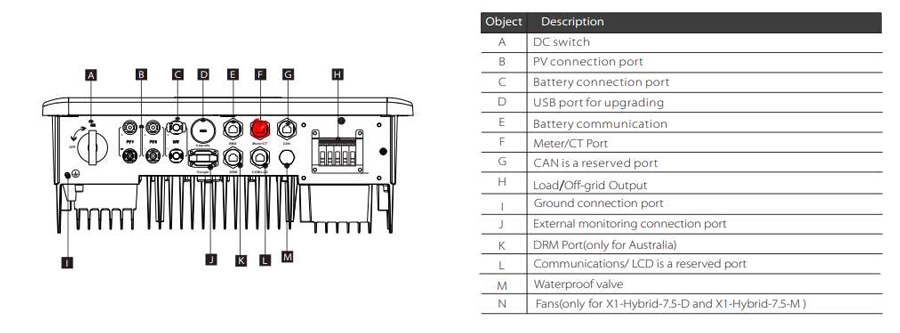
The clamp is responsible for calculating household consumption and sending it to the inverter via RS485. For this communication to be established, the following connections must be made:
Step-by-step communication setup
This section explains step by step how to configure the Solax inverter so that it establishes communication with Trydan and allows measurement data to be sent to it.
Configuration on the Solax X1-HYBRID G4
Once the installation is complete, we can configure the communication of the Solax inverter through the Wi-Fi signal it generates. This setup can be performed from a smartphone, so we will use the mobile app as an example. The app used to monitor the inverter is called Solax Cloud.
This app allows you to obtain inverter data and view the power diagram to verify the installation. If we are sure the clamp has been placed correctly, we can proceed with the Wi-Fi configuration of the inverter without using this monitoring app.
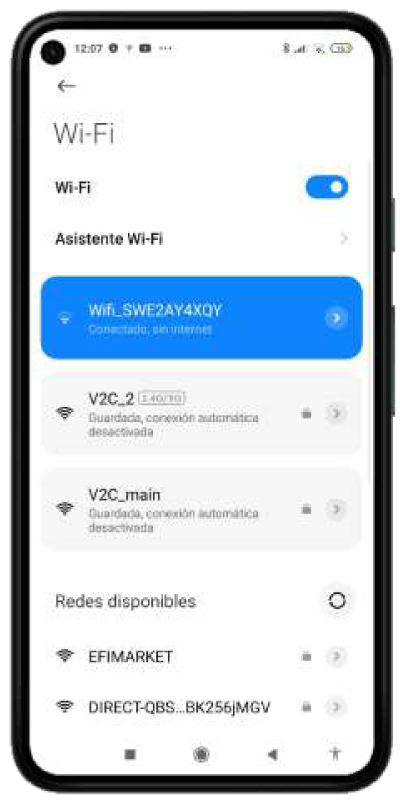
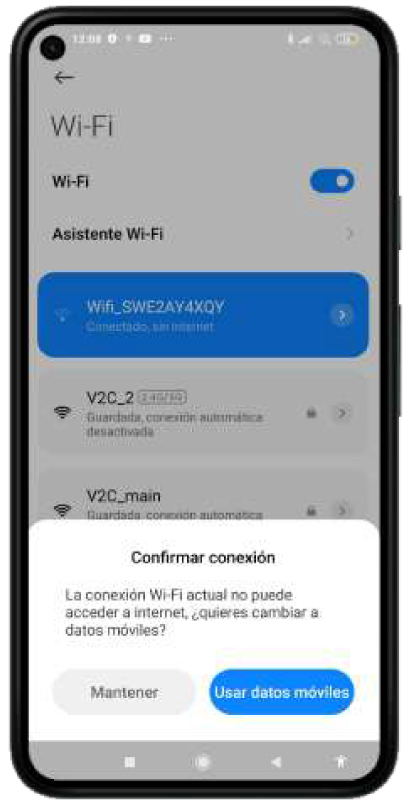


We look for the inverter’s open network (usually named Wifi_SW**) in the Wi-Fi settings of our smartphone and connect to it. A warning may appear indicating Wi-Fi without internet; we must select keep connection.

Once connected, we enter 5.8.8.8 in our browser and log in:
username: admin
password: admin

After logging in, we can view the Wi-Fi configuration to confirm if the router it is connected to is the same as Trydan, or if it needs to be configured. If it is already configured, we must note the IP address it occupies in our network for later Trydan setup.


When entering a new network with its password, the device will reboot. After about 15 seconds, we repeat the previous steps to access the Solax Wi-Fi configuration again and note the IP address assigned by our router.

For our inverter to communicate locally with Trydan, we must modify the firmware of the Solax Pocket WIFI V2. The easiest way is to go to the System section. Under Update firmware (.usb), click Choose file and select the firmware (you must first unzip the .zip file and select the .usb file) that was previously downloaded.
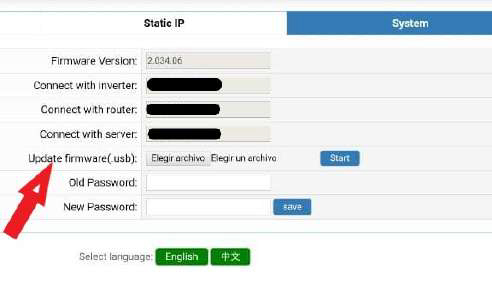

Finally, click Start, wait a moment, and if everything went correctly, the following message will appear:
Firmware update success, system reboot…please wait 5 seconds and refresh.
We will then be able to access this configuration menu from our router by entering the inverter’s IP address (e.g., 192.168.1.197) instead of 5.8.8.8.
Configuration with Trydan
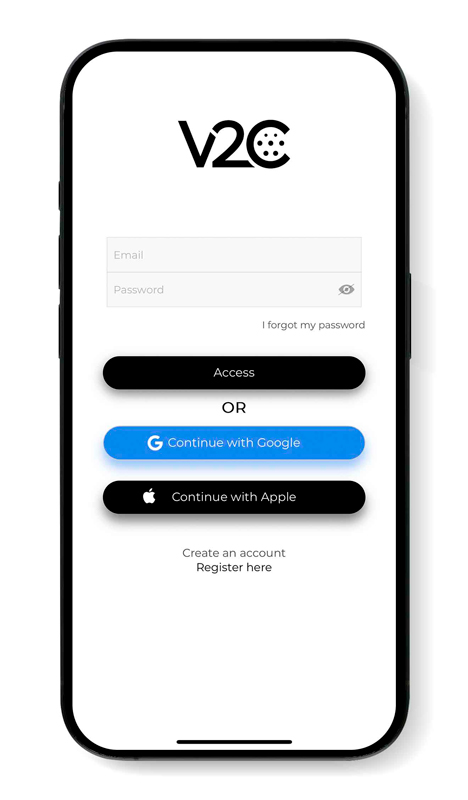
Once the Solax inverter is configured, open the V2C Cloud application where you can access your e-Charger.
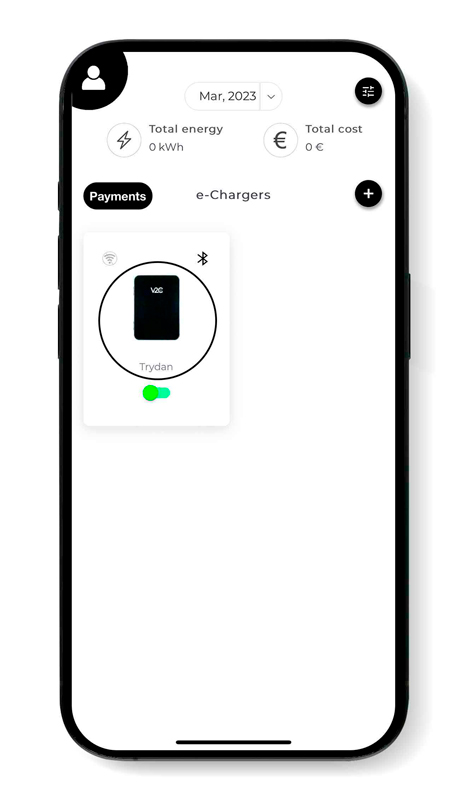

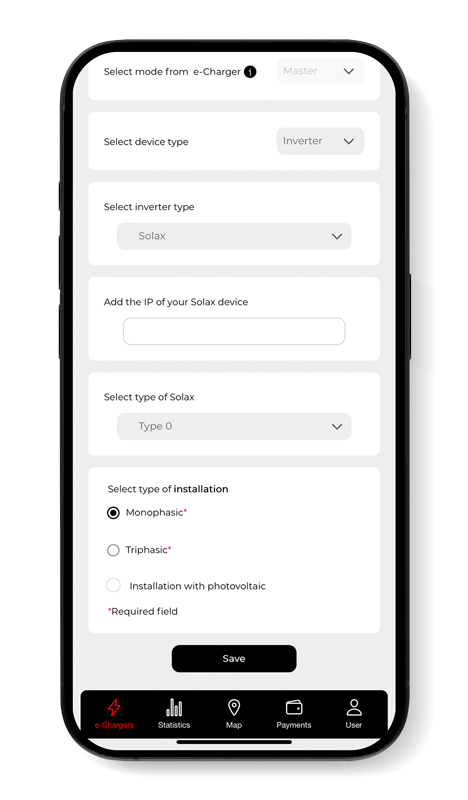
Select the desired e-Charger and tap the configuration icon in the upper right corner. Go to the Dynamic Power Control section, select Solax as the slave type, and enter the IP address we noted earlier (e.g., 192.168.1.197). After choosing whether our grid is single-phase or three-phase and whether it includes a photovoltaic installation, we save the configuration. Trydan will save the configuration and restart to apply these changes.
Final Result
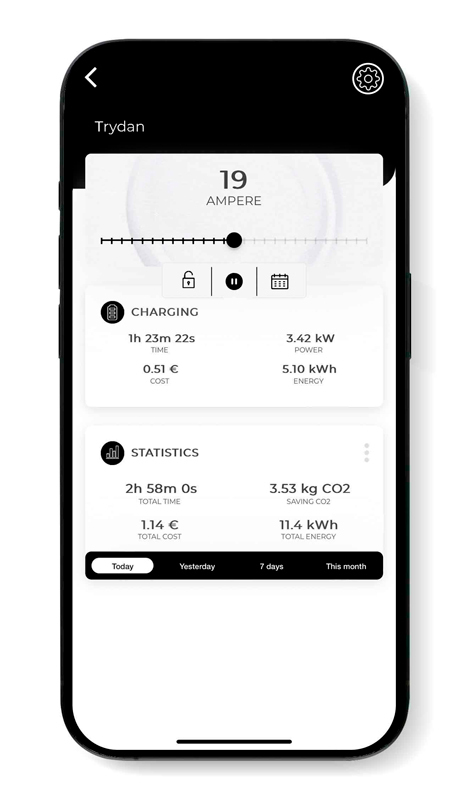
When Trydan finishes starting up, it will connect to Solax and obtain the measurements to dynamically adjust the charging current according to the mode we have selected. On the Trydan screen, we will be able to see the measurements obtained:
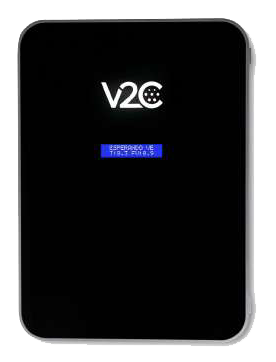


Trydan will display an error message if it fails to connect with Solax. Check your connection and make sure both devices are connected to the same network. If the connection is correct, the measurements will be displayed.
If updating to the recommended version is not possible, the charger integration must be performed using one of the wired meters indicated in our integration manuals.
Do you need technical support?
Resolve your issue instantly through our AI Chat. If it is not resolved, submit a request via the Technical Support Centre and we will contact you as soon as possible to provide the best solution.