

Integration of the Ingeteam solar inverter with Trydan
The Trydan electric car charger can be integrated with the Ingeteam inverter. To do this, it is essential that the charger and the inverter are connected to the same network segment. Our charger only requires the IP assigned to the inverter. In this article, you will be able to follow the step-by-step process to carry out the integration correctly.


The use of Wi-Fi repeaters or mesh networks can affect the proper functioning of the system. We recommend using a stable Wi-Fi network and direct connection to ensure optimal connectivity between the charger and the inverter.
Preliminary steps for integrating the Ingeteam inverter with Trydan
Before integrating Trydan with the Ingetam solar inverter, it is necessary to complete two preliminary steps.

Update your inverter and charger to the latest version
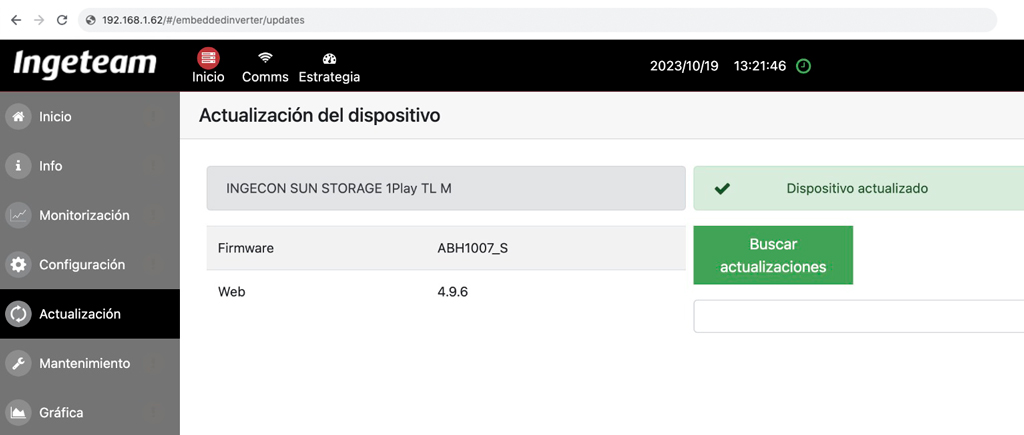
Access the local settings through the IP assigned to the inverter and update it to the latest version from the “Update” section of the menu.
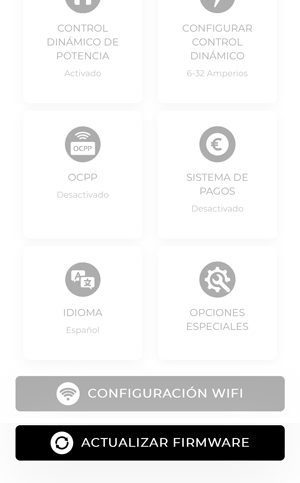
Also update the charger firmware from the V2C Cloud app (it can be either the mobile version or the V2C Cloud desktop version). Once you access the platform, select the charger and go to its settings. You need to click on the “Update firmware” button located at the bottom.

Configure the Trydan charger from Ingeteam
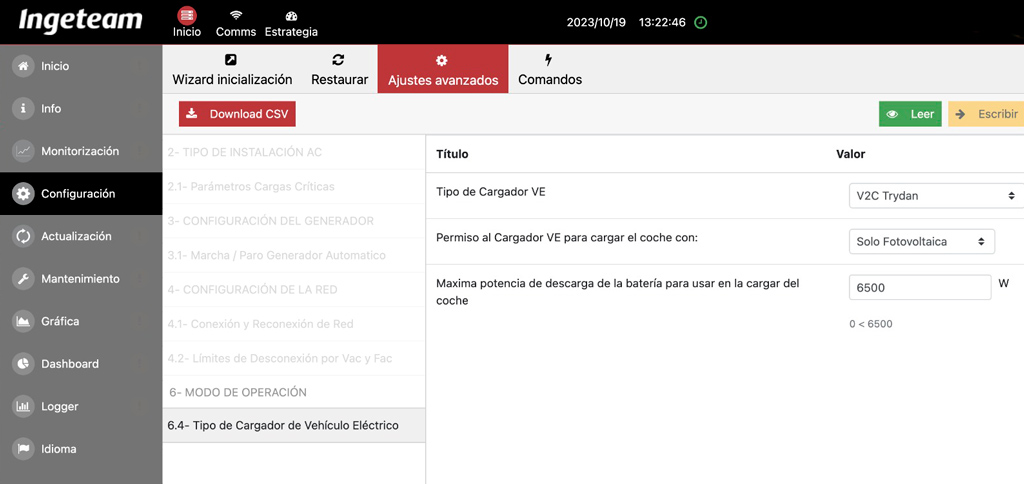
Access the “Settings” section of the Ingeteam menu and click on 6.4- Type of Electric Vehicle Charger. Select the V2C Trydan charger. Additionally, indicate whether the installation has only photovoltaics or also batteries. And, if batteries are available, specify their maximum discharge power to charge the car.
Step by step integration of Trydan with the Ingeteam inverter
Once you have completed the previous steps, everything is ready for the integration to be done correctly. Below are the steps to follow:
Access the Ingeteam INGECON SUN Monitor page
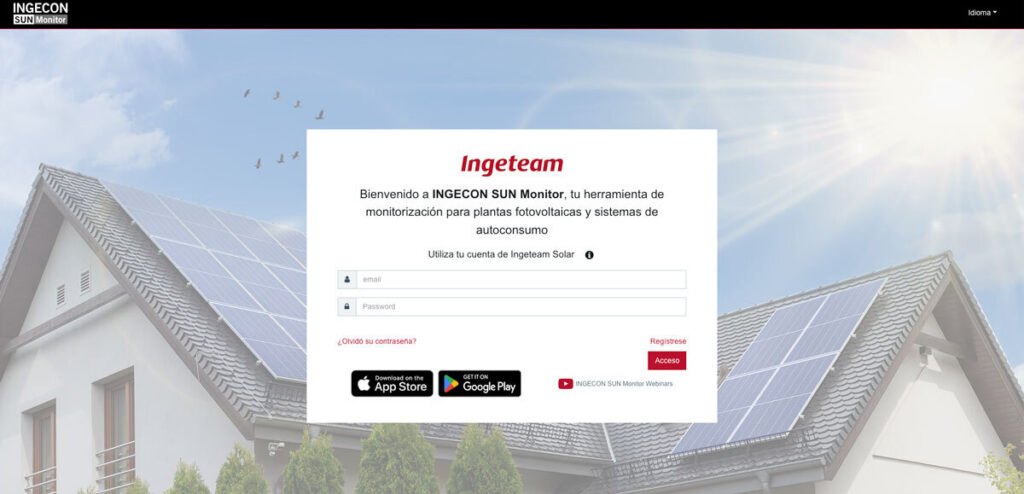
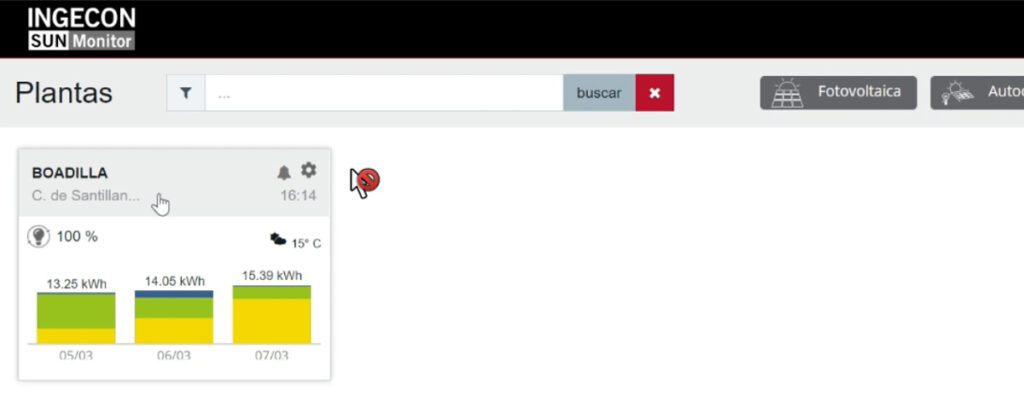
Connect to your inverter from the Ingeteam SUN Monitor page (https://www.ingeconsunmonitor.com/login).
Enter the plant

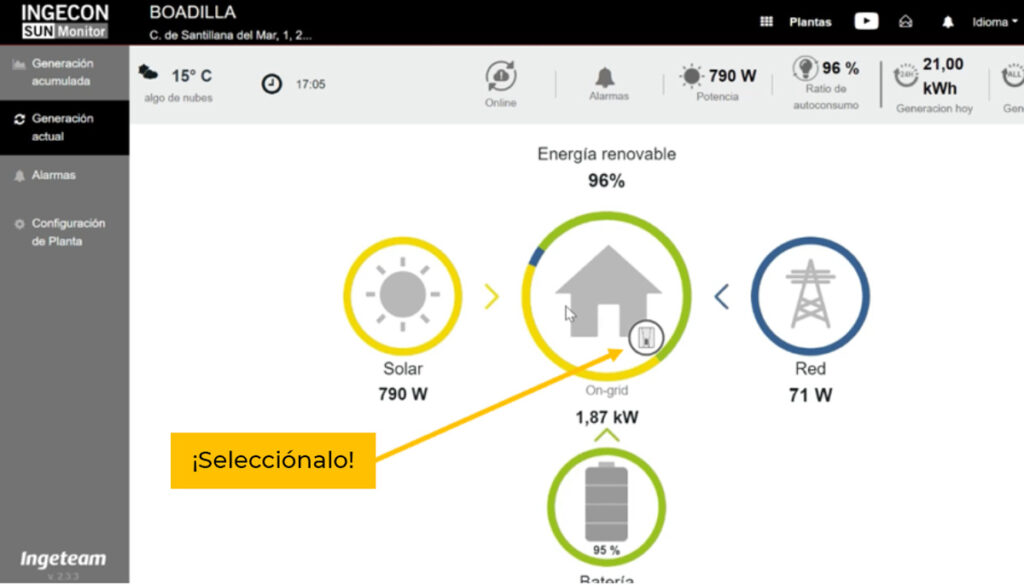
Edit the inverter settings
Select the ‘Current Generation’ tab and then click on the plant as indicated in the image.

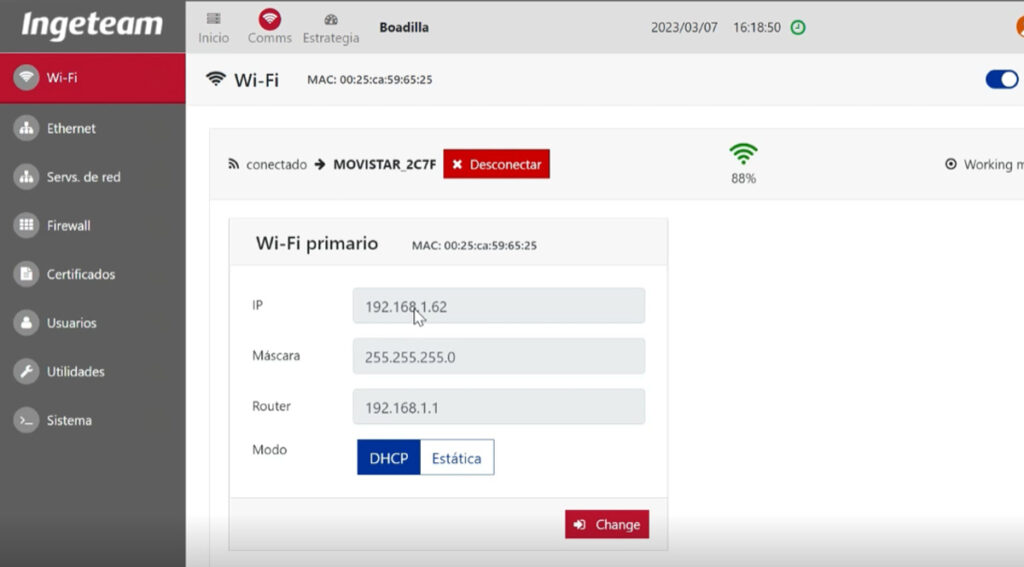
View the IP assigned to the inverter
Select the Wi-Fi option to view the WiFi network and the IP assigned to it.

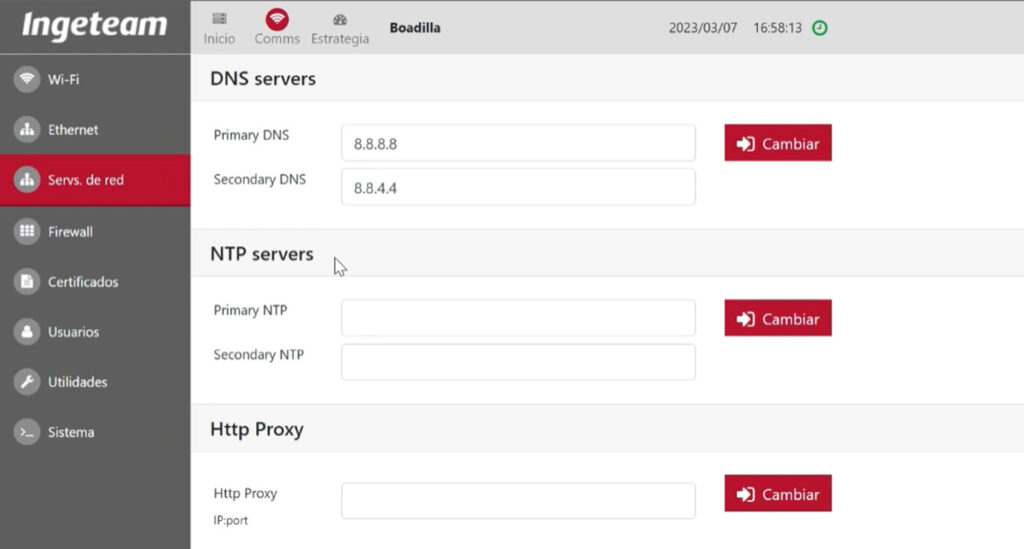
Check the DNS
The DNS is located in Network Services.
Primary DNS 8.8.8.8
Secondary DNS 8.8.4.4

Uncheck the Ethernet interface
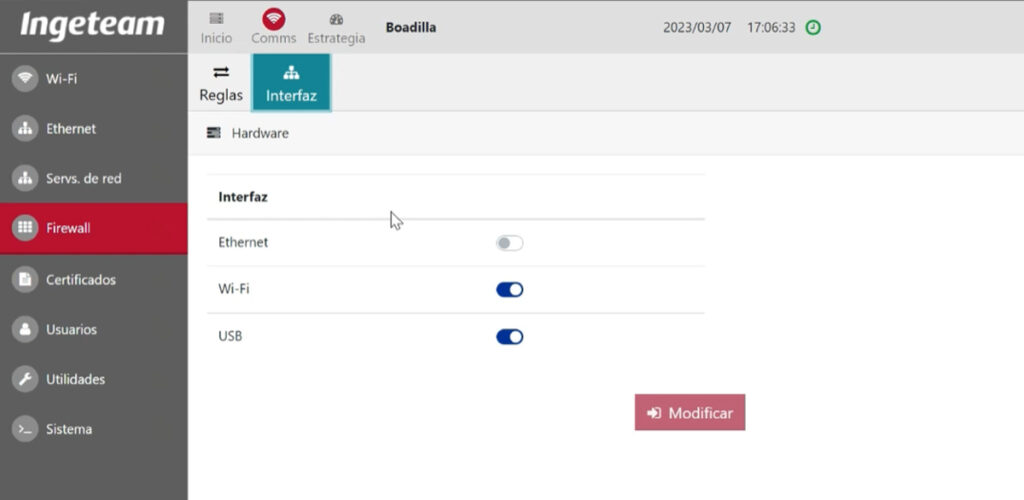

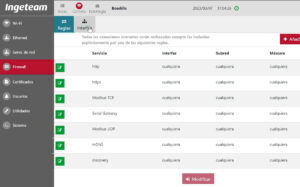
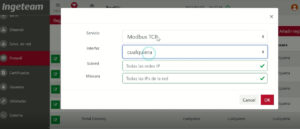
Enable Modbus TCP/IP
You must enable it or leave it on the ‘any’ option.

Assign the inverter’s IP in the V2C Cloud app
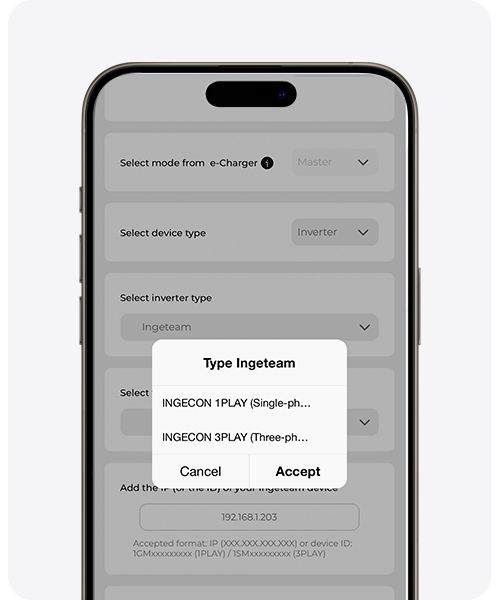
Open the V2C Cloud app (it can be either the mobile or computer version), select the charger, go to its settings, and enter the ‘Dynamic Power Control’ section. You must have it configured as shown in the following image, changing the IP to that of your Ingeteam device and indicating whether it is a single-phase or three-phase photovoltaic installation. It is important that in the Ingeteam Type you select “INGECON 1 PLAY” (single-phase) or “INGECON 3 PLAY” (three-phase).
Do you need technical support?
Resolve your issue instantly through our AI Chat. If it is not resolved, submit a request via the Technical Support Centre and we will contact you as soon as possible to provide the best solution.